I used to spend way too much money on store-bought protein bars, thinking they were the only way to get a quick, healthy, nut-free snack after workouts. But most of them had either peanuts, almonds, or some other nut I needed to avoid. The few nut-free options I found were either packed with sugar, tasted like cardboard, or cost more than an entire meal. That’s when I decided to make my own.
The first time I made nut-free protein bars at home, I was skeptical. Would they hold together without peanut butter? Would they taste good? Would I actually want to eat them instead of just forcing them down for the protein? But after a few tweaks, I landed on a recipe that was not only delicious but also ridiculously easy to make.
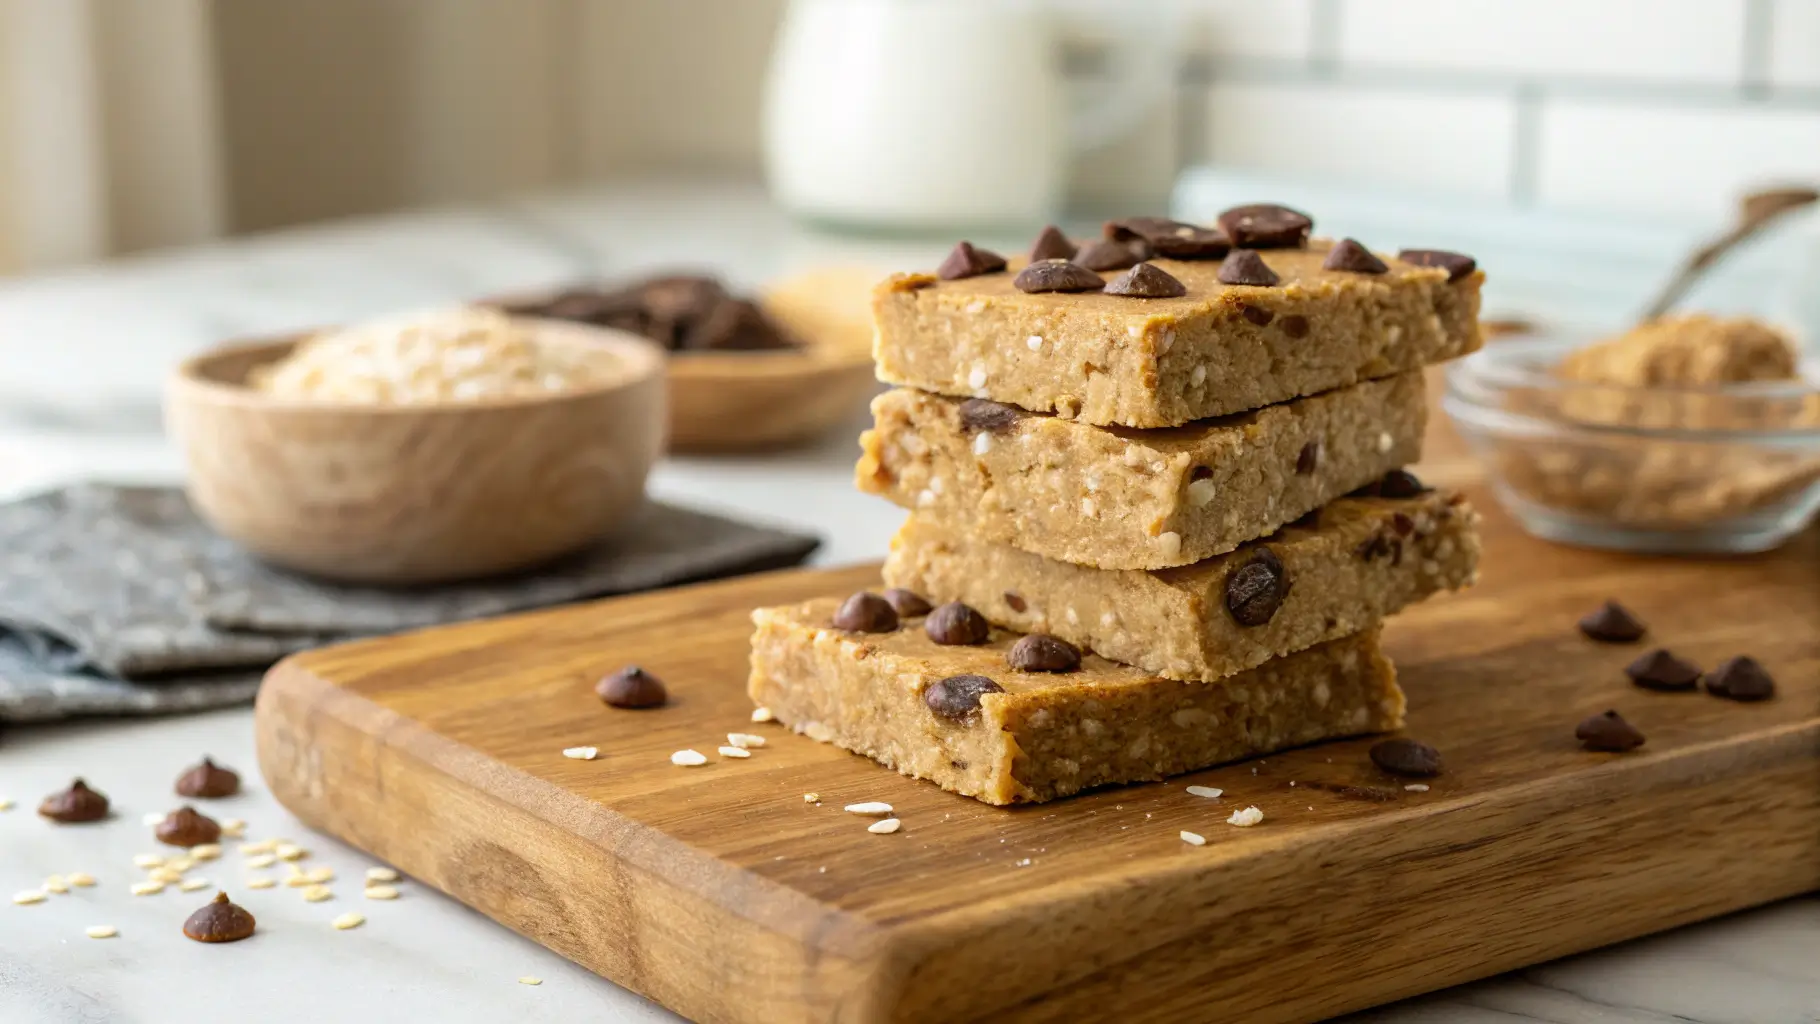
These bars are chewy, naturally sweetened, and packed with protein, thanks to a simple mix of rolled oats, oat flour, protein powder, and coconut oil. They take less than 20 minutes to prep and bake, and they stay fresh for days, making them perfect for meal prep. I grab one before heading to the gym or after a workout to refuel. Sometimes, I even crumble one over Greek yogurt for a quick high-protein breakfast.
If you’re looking for a nut-free, high-protein snack that actually tastes good, this recipe is for you. No weird preservatives, no overpriced ingredients—just real food that fuels your body.
Table of Contents
Ingredients for Nut-Free Protein Bars
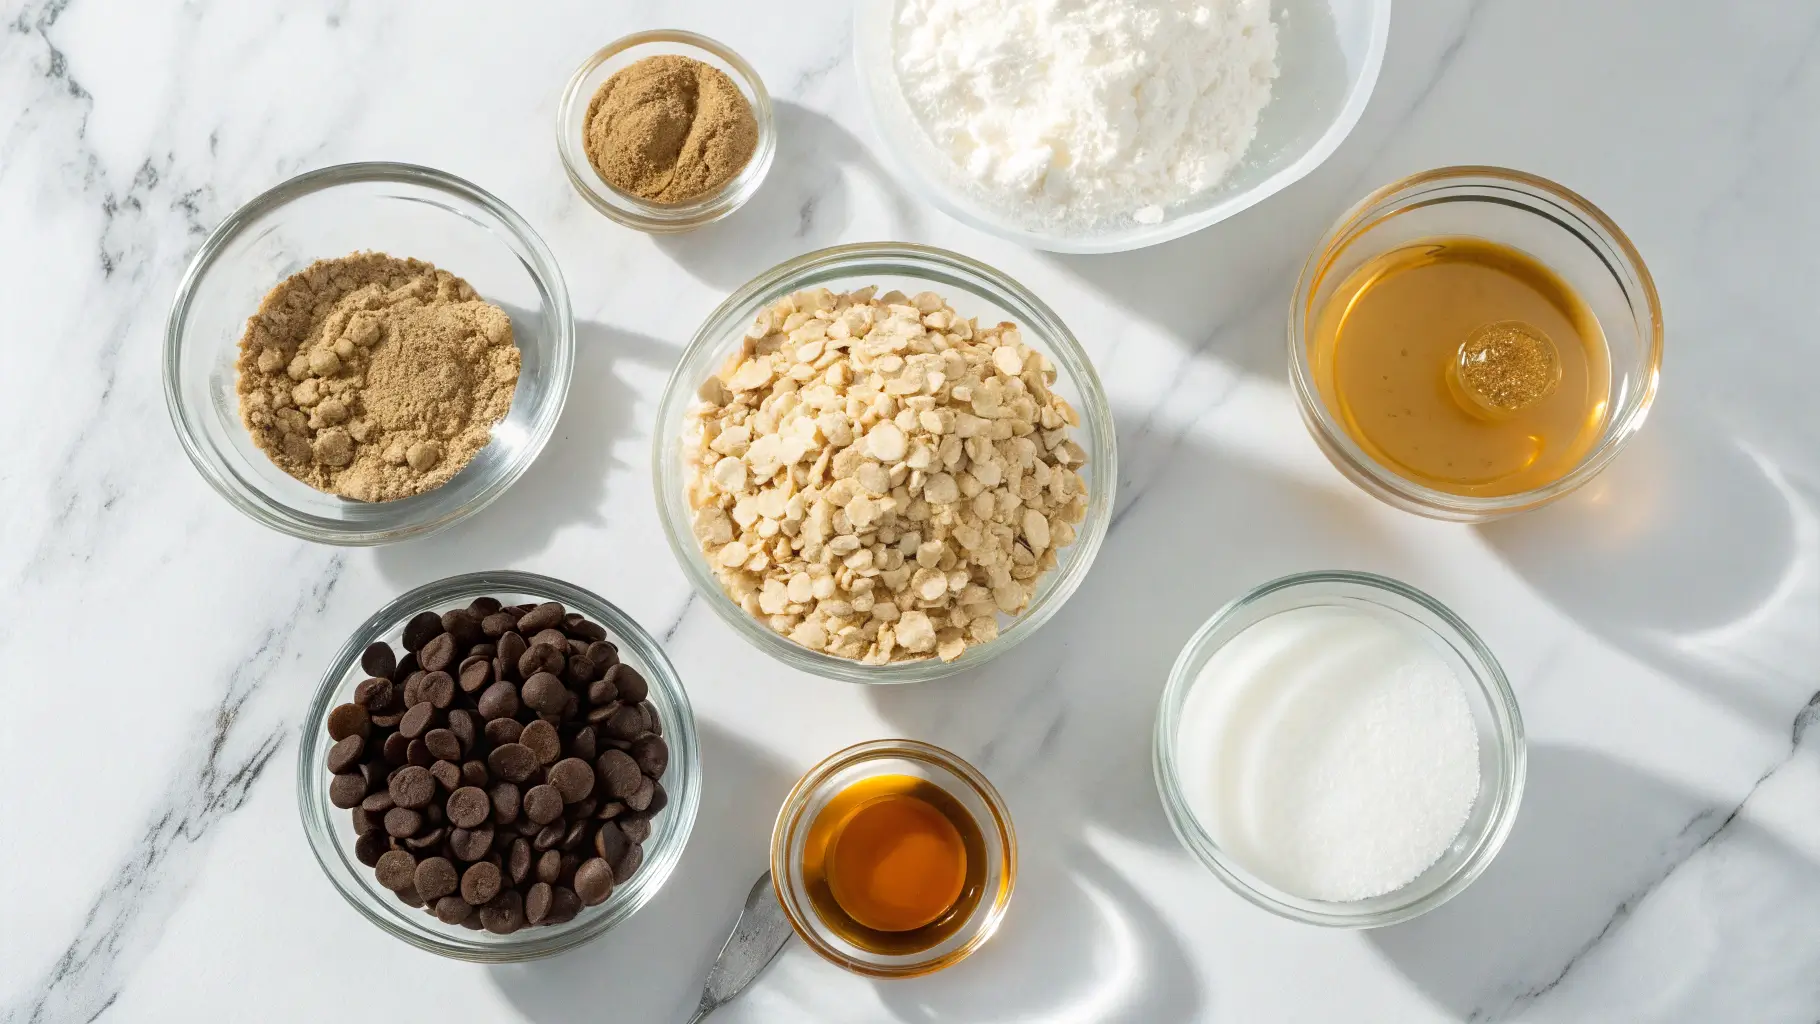
Simple and Wholesome Ingredients
The key to making nut-free protein bars that are both delicious and high in protein is using the right mix of ingredients. These bars rely on simple, real-food components that you probably already have in your pantry. Here’s what you’ll need:
- 1 ½ cups old-fashioned rolled oats – The base of these bars, providing texture and fiber. Avoid quick oats, as they can make the bars too soft.
- ¼ cup oat flour – Helps bind everything together. You can make your own by blending oats into a fine powder.
- ⅓ cup protein powder – I use unflavored whey protein for a neutral taste, but pea or soy protein works well for a vegan option.
- ½ teaspoon salt – A pinch enhances the flavor and balances the sweetness.
- ¼ cup melted coconut oil – This replaces nut butter and helps the bars hold together while adding a rich texture.
- ¼ cup maple syrup or honey – A natural sweetener that adds just the right amount of flavor. If you’re vegan, stick to maple syrup.
- 1 tablespoon brown sugar or coconut sugar – Optional, but adds a depth of sweetness. Use coconut sugar to keep these bars refined sugar-free.
- 1 teaspoon vanilla extract – A simple addition that boosts flavor.
- 2 to 4 tablespoons mini chocolate chips – Totally optional, but they add a nice touch of sweetness.
Why These Ingredients Work Without Nuts
- Coconut oil acts as the glue, holding everything together without needing peanut or almond butter.
- Oats and oat flour create a sturdy yet chewy texture.
- Protein powder makes these bars a great post-workout snack without the need for nuts.
- Maple syrup or honey provides sweetness while also helping bind the ingredients.
These ingredients come together to create a bar that’s packed with protein, fiber, and healthy fats—perfect for a grab-and-go snack.
Step-by-Step Instructions to Make Nut-Free Protein Bars
Preparation: Get Everything Ready
Before you start, preheat your oven to 350°F (175°C) and line a loaf pan (8½ x 4½ inches) with parchment paper. This step ensures that your bars don’t stick and are easy to remove after baking.
Gather all your ingredients and have them measured out. This makes the process quick and smooth.
Mixing the Dry Ingredients
In a large mixing bowl, combine:
- 1 ½ cups rolled oats
- ¼ cup oat flour
- ⅓ cup protein powder
- ½ teaspoon salt
Use a spoon to mix everything together, ensuring the protein powder and oat flour are evenly distributed.
Preparing the Wet Ingredients
In a smaller bowl, whisk together:
- ¼ cup melted coconut oil
- ¼ cup maple syrup or honey
- 1 tablespoon brown sugar or coconut sugar
- 1 teaspoon vanilla extract
This mixture might not fully combine, but that’s okay—it’ll blend perfectly with the dry ingredients in the next step.
Combining and Baking
Slowly pour the wet ingredients into the bowl of dry ingredients. Use a spatula to mix everything until the mixture resembles cookie dough. It should be sticky enough to hold together but not overly wet.
Press the mixture firmly into the parchment-lined loaf pan, making sure it’s spread evenly. If you’re using mini chocolate chips, sprinkle them on top and press them in slightly so they stick.
Bake for 10 to 12 minutes, or until the edges are lightly golden brown. The bars may still look slightly underdone when you take them out, but don’t worry—they will firm up as they cool.
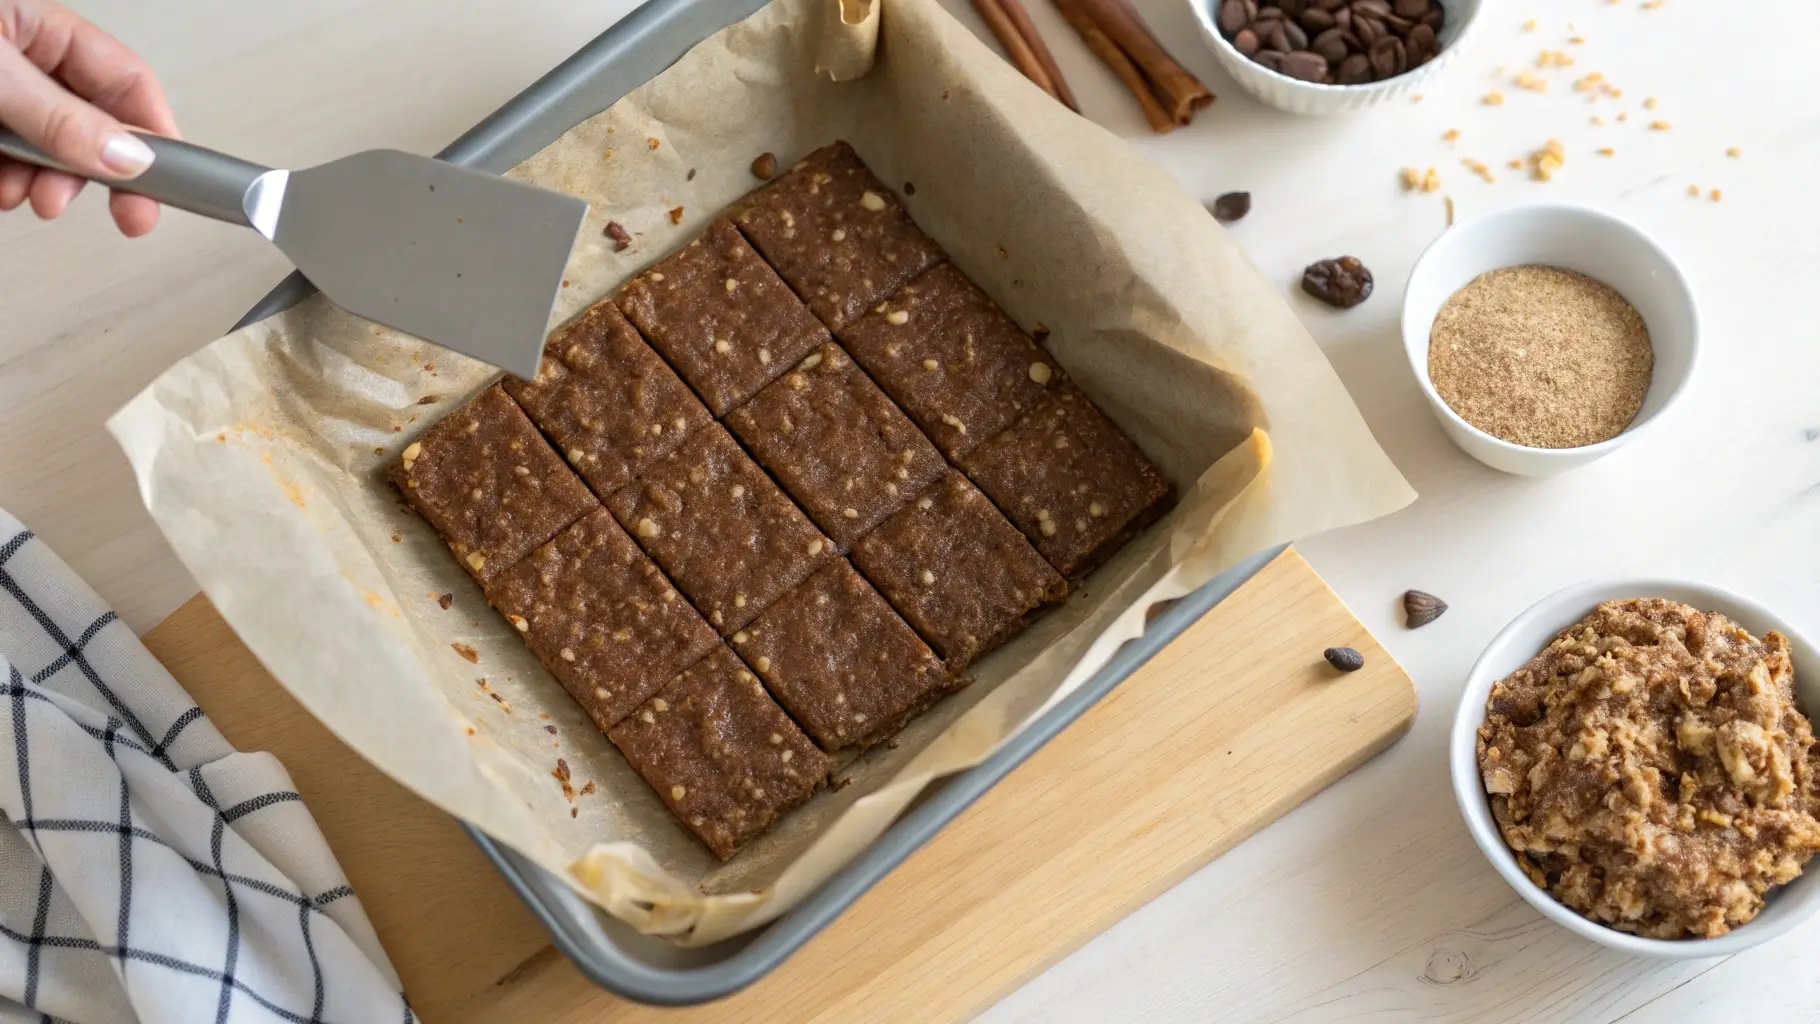
Cooling and Cutting
Once baked, let the bars cool in the pan for about 15 minutes before transferring them to a cutting board. Slice them into 6 to 8 bars depending on your preferred size.
For a finishing touch, drizzle melted chocolate on top or sprinkle flaky salt for extra flavor.
These nut-free protein bars are now ready to enjoy! Whether you need a pre-workout snack, a quick breakfast, or an afternoon energy boost, they’ve got you covered.
For more high-protein snack ideas, check out this Protein Donuts Healthy Snack Guide.
Nutritional Facts Breakdown
Nutritional Table (Per Serving)
When making homemade nut-free protein bars, knowing what goes into them helps you stay on track with your nutrition. Here’s a breakdown of what you’re getting in each bar:
| Nutrient | Amount |
|---|---|
| Calories | 267 kcal |
| Protein | 10g |
| Carbohydrates | 32g |
| Fiber | 4g |
| Sugar | 10g |
| Fat | 11g |
| Saturated Fat | 8g |
Why These Bars Are Great for an Active Lifestyle
- High protein to support muscle recovery and keep you full.
- Balanced carbs provide energy without spiking blood sugar.
- Fiber-rich to support digestion and keep cravings in check.
- Healthy fats from coconut oil for sustained energy.
These bars are perfect before or after a workout, as a quick breakfast, or even as a midday snack when you need something to keep you going.
For another high-protein snack idea, check out this Cottage Cheese Chocolate Mousse, a creamy and satisfying treat packed with protein.
Meal Prep and Storage Tips
Best Way to Store Fresh Nut-Free Protein Bars
These nut-free protein bars are great for meal prep because they stay fresh for days. To keep them tasting their best:
- Store them in an airtight container at room temperature for up to 4 days.
- If you prefer a firmer texture, refrigerate them for up to a week.
- Let refrigerated bars sit at room temperature for a few minutes before eating for the best texture.
Freezing for Long-Term Storage
If you like to make a big batch ahead of time, freezing is the way to go.
- Wrap each bar individually in parchment paper or plastic wrap.
- Place them in a freezer-safe bag or container.
- Store for up to 3 months.
To enjoy, just grab a bar and let it thaw for 10-15 minutes at room temperature, or microwave it for a few seconds if you’re in a rush.
For more meal-prep-friendly snacks, check out this Protein Pasta Salad Guide for another easy, high-protein option.
Topping and Pairing Ideas
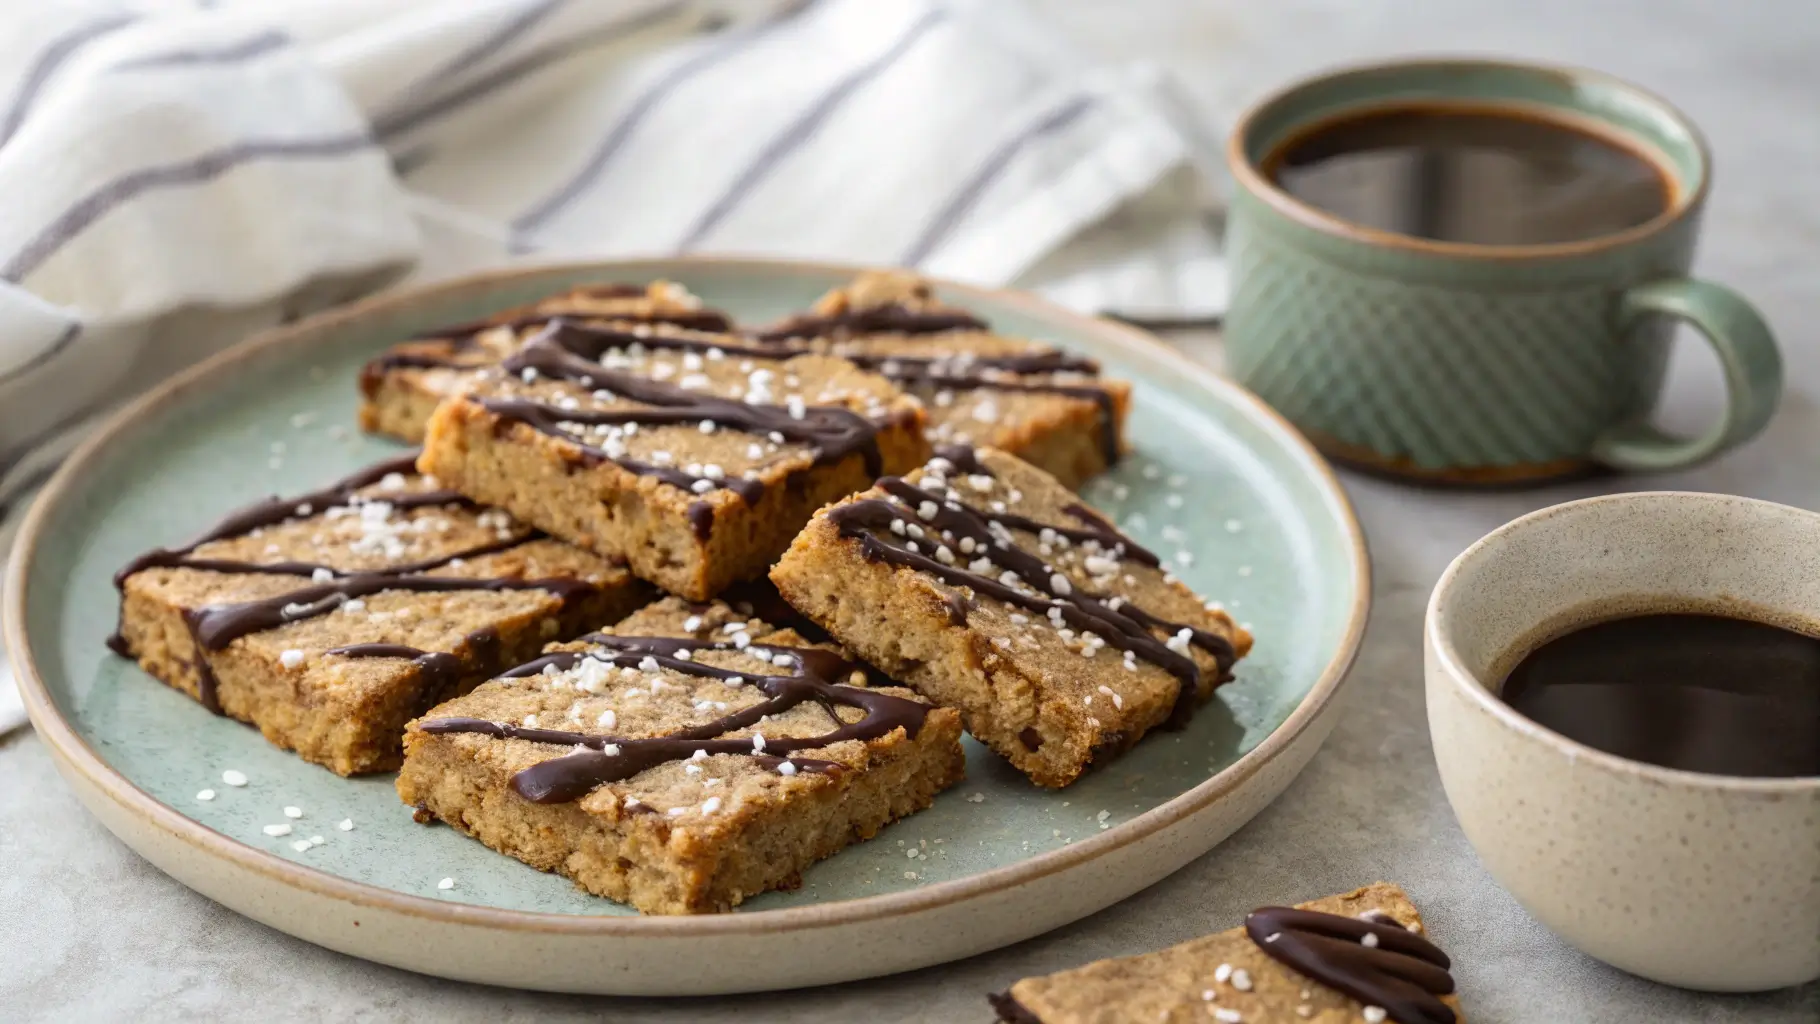
Delicious Add-Ons for Extra Flavor
One of the best things about homemade nut-free protein bars is how easy they are to customize. You can keep them simple or take them up a notch with a few tasty add-ons:
- Dark chocolate drizzle – Melt a little dark chocolate and drizzle it over the bars for an indulgent but healthy touch.
- Shredded coconut – Sprinkle some unsweetened coconut flakes on top before baking for extra texture.
- Pumpkin or sunflower seeds – For a little crunch and extra protein, press seeds into the bars before baking.
- Cinnamon or cocoa powder – Add a sprinkle of cinnamon for warmth or cocoa for a deeper chocolate taste.
What to Eat With Your Nut-Free Protein Bars
These nut-free protein bars are great on their own, but pairing them with other healthy foods makes them even better:
- Greek yogurt – Crumble a bar into a bowl of yogurt for a high-protein breakfast.
- Smoothies – Pair with a post-workout protein smoothie for extra fuel.
- Nut-free butter – Dip a bar in sunflower seed or coconut butter for an extra creamy bite.
- Coffee or tea – A perfect morning or afternoon snack alongside your favorite warm drink.
For another high-protein treat, check out this Protein Pumpkin Muffins recipe, a great option for meal prep and quick snacks.
Variations for Different Fitness Goals
For Bulking: High-Calorie Version
If you’re trying to increase muscle mass, adding more calories to these nut-free protein bars is simple:
- Swap oat flour for almond flour (if not allergic) or double the oat flour.
- Add 1-2 tablespoons of melted coconut cream for extra healthy fats.
- Mix in dried fruit like raisins or dates for natural sugars and more carbs.
- Use full-fat Greek yogurt as a side to boost calories and protein.
For Cutting: Low-Calorie Version
Want a leaner version of these bars? Try these adjustments:
- Reduce maple syrup or honey by half and add stevia or monk fruit as a sweetener.
- Use unsweetened applesauce instead of coconut oil to lower the fat content.
- Skip the chocolate chips to cut out extra sugar.
For Low-Carb Diets
If you’re following a low-carb plan, you can still enjoy these bars with a few swaps:
- Replace rolled oats with a mix of coconut flour and flaxseed meal.
- Use unsweetened protein powder instead of oat flour.
- Swap maple syrup for a sugar-free alternative like monk fruit syrup.
For a Vegan-Friendly Option
Keeping these bars 100% plant-based is easy with these changes:
- Use pea or soy protein instead of whey.
- Swap honey for maple syrup or date syrup.
- Add chia or flaxseeds for extra nutrition.
For another delicious plant-based recipe, check out this Crispy Rice Salad Recipe, a great crunchy and satisfying dish!
FAQs About Nut-Free Protein Bars
Are nut-free protein bars allergy-friendly?
Yes! These bars are made without peanuts or tree nuts, making them a great choice for people with allergies. They are also school-safe, so they can be packed in lunchboxes without worry. Always double-check ingredient labels, especially for protein powders, to ensure they are nut-free.
Can I make these bars without baking?
Absolutely! If you prefer a no-bake version, skip the oven and let the mixture set in the refrigerator for at least 2 hours. Press the mixture firmly into a lined pan, refrigerate until firm, then slice into bars. They will be slightly softer than baked bars but just as tasty.
What’s the best protein powder to use?
The best protein powder depends on your dietary needs. Whey protein gives a smooth texture and mild flavor, while pea or soy protein is perfect for a vegan-friendly option. If you want a natural, mild taste, go for unflavored protein powder and adjust the sweetness with maple syrup or honey.
How can I make these bars crunchier?
If you like crunchy nut-free protein bars, try adding crushed rice cakes, pumpkin seeds, or crispy quinoa to the mix. You can also bake them for an extra 2-3 minutes to get a firmer texture.
Final Thoughts on Nut-Free Protein Bars
Making your own nut-free protein bars is one of the best ways to enjoy a healthy, high-protein snack without breaking the bank. They are simple to make, customizable, and packed with wholesome ingredients that fuel an active lifestyle.
Whether you need a pre-workout boost, a post-gym recovery snack, or an easy breakfast, these bars have got you covered. Plus, with so many ways to customize them, you’ll never get bored.
Try making a batch this week, and see how easy it is to stay on track with your nutrition! If you’re looking for more high-protein snack ideas, check out our other delicious recipes to keep your meal prep fresh and exciting.
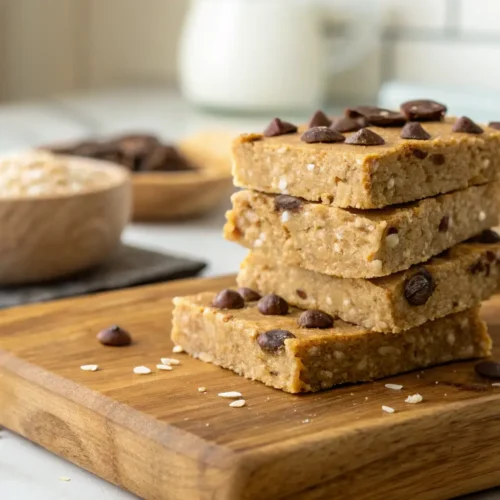
Nut-Free Protein Bars
Ingredients
Dry Ingredients
- 1 ½ cups old-fashioned rolled oats Gluten-free certified if needed
- ¼ cup oat flour Store-bought or homemade by blending oats
- ⅓ cup protein powder Unflavored or vanilla whey, pea, or soy
- ½ tsp salt
Wet Ingredients
- ¼ cup melted coconut oil Unrefined for extra flavor
- ¼ cup maple syrup Use honey as an alternative
- 1 tbsp brown sugar Or coconut sugar for a refined sugar-free option
- 1 tsp vanilla extract
- 2-4 tbsp mini chocolate chips Optional, for extra sweetness
Instructions
- Preheat your oven to 350°F (175°C) and line a loaf pan (8½ x 4½ inches) with parchment paper.
- In a large mixing bowl, combine rolled oats, oat flour, protein powder, and salt. Mix well.
- In a smaller bowl, whisk together melted coconut oil, maple syrup, brown sugar, and vanilla extract.
- Pour the wet ingredients into the dry mixture and stir until fully combined. The mixture should resemble a thick, sticky dough.
- Press the mixture evenly into the prepared loaf pan using a spatula or your hands.
- Bake for 10-12 minutes until the edges turn golden brown.
- Let the bars cool completely in the pan before removing and slicing into 6 bars.
- Enjoy immediately, or store in an airtight container for up to a week.

